eyelid primer secrets makeup artists swear by for flawless wear
If your eyeshadow always creases, disappears by midday, or never looks as vibrant as it does in the pan, the missing link in your routine is probably eyelid primer. Makeup artists rely on primer as their quiet hero product—doing invisible work that makes everything on top look smoother, richer, and longer-lasting.
Below are the pro-level secrets that explain why eyelid primer is so powerful, how to choose the right one, and how to apply it for crease-free, budge-proof eye looks every time.
What exactly does eyelid primer do?
Think of an eyelid primer as double-sided tape plus a smoothing filter for your eye makeup. It creates a clean, grippy, even base between your skin and your eyeshadow or liner.
A good eyelid primer:
- Controls oil on the lids so shadow doesn’t slide off or crease.
- Intensifies pigmentation so colors look truer to the pan.
- Smooths texture—fine lines, veins, and discoloration are blurred.
- Extends wear time dramatically, often from a few hours to all day.
- Helps blending so you can achieve softer, more seamless gradients.
Makeup artists will tell you: if you’re investing in high-quality eyeshadow, skipping primer is like buying designer shoes and walking through rain without an umbrella.
Why your lids need a dedicated primer (not just concealer)
Many people try to use concealer as a stand-in for eyelid primer. While it can work in a pinch, there are key differences.
Concealer vs eyelid primer
-
Formulation
Concealers are designed to add coverage and flex with facial movement. A true eyelid primer is designed to lock down product and resist oil and sweat. -
Oil control
Most concealers are creamy and can actually add slip. Primers usually contain oil-absorbing ingredients that keep shadow in place all day. -
Crease prevention
Concealer alone can crease, especially on hooded or textured lids. Primers are built to resist creasing and keep everything smoother for longer.
That said, some makeup artists do layer a tiny amount of concealer over primer for extra coverage on very discolored lids. The key is thin layers and setting carefully.
How to choose the right eyelid primer for your eye type
Not all eyelid primers are created equal. Pros select them based on the client’s lid type, skin needs, and desired finish.
For oily or hooded lids
- Look for: Long-wear, matte, oil-controlling formulas.
- Texture: Lightweight liquid or cream that dries down fully.
- Finish: True matte, no slip or tacky residue.
- Tip: Avoid heavy, creamy, or very hydrating formulas—they’ll crease quicker on oily lids.
For dry or mature lids
- Look for: Hydrating, lightweight, smoothing primers.
- Texture: Cream or lotion that doesn’t crack or feel tight.
- Finish: Soft satin rather than flat matte.
- Tip: Avoid very drying, alcohol-heavy formulas that can emphasize texture.
For sensitive or allergy-prone eyes
- Look for: Fragrance-free, ophthalmologist-tested, minimal-ingredient options.
- Avoid: Strong fragrances, heavy silicones if they irritate you, glitter in the base.
- Tip: Always patch-test along the jawline first, then try on one eye before using daily.
For everyday natural looks
- Look for: Lightly tinted or sheer primers to subtly even out your lid.
- Benefit: Just enough grip for neutral shades, without feeling heavy or makeup-y.
For bold, colorful, or editorial looks
- Look for: Highly grippy, often slightly tacky primers that make pigment pop.
- Some pros even pair an eyelid primer with a white or skin-tone cream base on top to create an ultra-bright canvas.
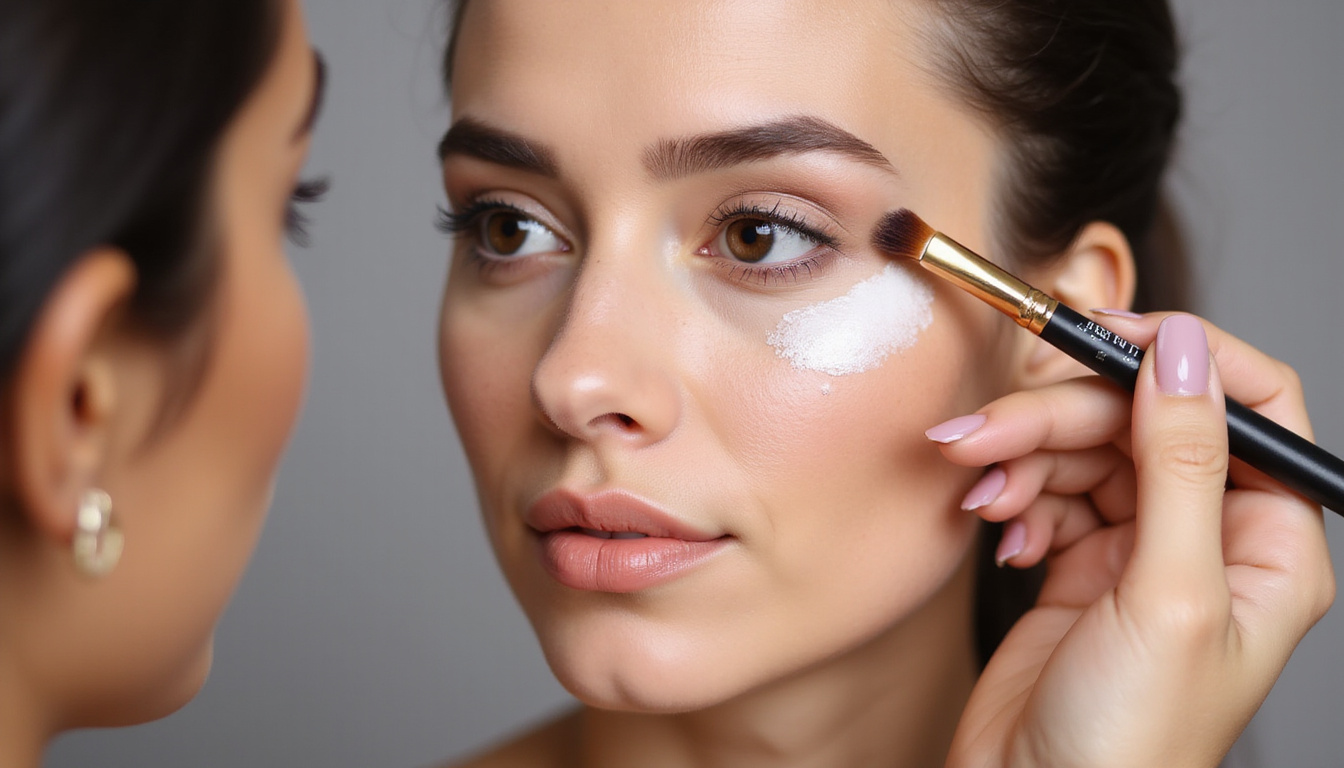
Step-by-step: makeup artist method for applying eyelid primer
Application is where most people go wrong with eyelid primer. Too much product or improper blending can cause the very creasing you’re trying to avoid.
1. Start with clean, prepped skin
- Remove oils or leftover makeup completely.
- Apply your usual eye cream—but only a very thin layer and let it absorb fully.
- Blot excess moisture with a tissue. Primer needs a non-slippery surface.
2. Use less primer than you think
With eyelid primer, a rice-grain amount per eye is usually plenty.
- Squeeze a tiny dot on the back of your hand.
- Pick up product with your ring finger or a small synthetic brush.
If you can see a lot of texture or wetness sitting on the lid, you likely used too much.
3. Apply from lash line to brow bone
- Start at the lash line, tapping up toward the crease.
- Blend up toward the brow bone if you’re placing shadow there too.
- Don’t forget the inner corner and outer corner, where creasing often starts.
Makeup artists prefer tapping or pressing motions to achieve a thin, even veil.
4. Let it set—then lightly set with powder (if needed)
- Wait about 20–30 seconds for the primer to begin drying down.
- For very oily or hooded lids, artists often:
- Dust a sheer layer of translucent powder over the primer, or
- Use a skin-tone shadow to lightly set the base.
This helps prevent grabbing or patchiness when you apply shadow.
5. Build shadow in thin layers
- Start with your lightest, all-over shade first.
- Gradually build deeper shades in the crease and outer corner.
- Blend as you go—primer gives you more control, but you’ll still want to work in thin layers for the smoothest finish.
Advanced artist tricks with eyelid primer
Once you master the basics, these pro techniques can take your looks to the next level.
1. Use primer as a “cut crease” assistant
For crisp, graphic crease work:
- Apply your transition shades first.
- Use a small, flat brush with eyelid primer to sharpen and clean the crease area.
- Then apply your lid shade over the primed area for a sharp, bright cut crease that holds.
2. Boost shimmer and metallic payoff
On top of a set lid, place a tiny dab of eyelid primer only where you want shimmer or metallic shadow to pop (usually the center or inner lid), then:
- Press shimmer shadow directly onto the tacky spot.
- Avoid blending too far; let the primer act like a spotlight.
3. Create an eyeliner base
If your pencil or powder liner smudges:
- Sweep a small amount of primer along the upper and lower lash lines.
- Apply liner on top and gently set with a matching powder shade.
- This layered approach dramatically improves wear, especially on watery eyes.
4. Prime under the lower lash line
For smoky or smudged lower-lash looks:
- Apply a tiny amount of primer with a detail brush under the lower lashes.
- Blend your shadow or liner on top.
- Set with a small amount of powder for maximum staying power.
Common eyelid primer mistakes (and how to avoid them)
Even with a good product, these missteps can sabotage your look.
-
Using way too much
Result: Patchy blending, creasing, or product balling up.
Fix: Always start with less; you can add a touch more where needed. -
Applying on top of wet or heavy eye cream
Result: Slipping, sliding shadow and smudged liner.
Fix: Let skincare fully absorb, then blot before priming. -
Not letting primer dry down
Result: Shadow clings in uneven patches.
Fix: Wait 20–30 seconds, then gently touch—your lid should feel slightly tacky, not wet. -
Skipping the brow bone when you use shadow there
Result: Patchy highlight shade or uneven blending at the top.
Fix: Bring primer all the way to the brow bone for a consistent canvas. -
Blaming the eyeshadow, not the base
Sometimes a “bad” shadow performs beautifully over the right eyelid primer. Primers can dramatically improve payoff, especially with dry or chalky formulations.
How long can eyelid primer really make makeup last?
Wear time depends on your skin, products, and environment. But compared to bare lids, a good eyelid primer can extend wear from a few hours to 8–12+ hours with significantly less creasing and fading.
Professional artists rely on primer for:
- Bridal makeup (12+ hours, emotional tears, dancing).
- Red-carpet looks under hot lights.
- Photoshoots where eye looks must remain perfect for hours.
In fact, long-wearing primers are often recommended by dermatologists and beauty experts for people with oily lids or those who wear eye makeup daily, as they help product stay put without constant rubbing and reapplication (source: American Academy of Dermatology).
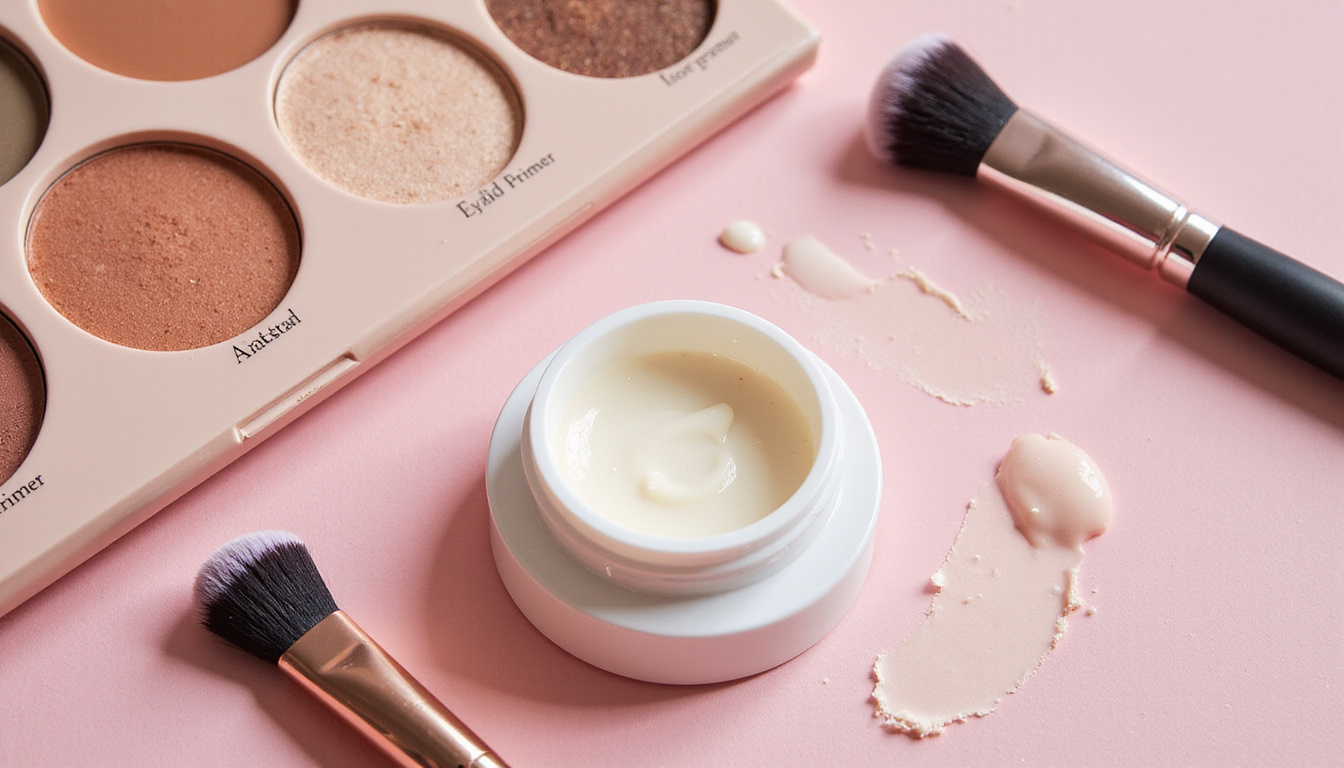
Quick comparison: types of eyelid primers
Here’s a streamlined overview of what you’ll typically see on the market:
-
Clear / translucent primers
Great if you love your natural skin tone and just want grip and longevity. -
Tinted skin-tone primers
Ideal for covering veins, redness, or discoloration for a perfected base. -
Color-correcting primers
Peach, yellow, or pink undertones that neutralize purplish or blue veins. -
Shimmer or illuminating primers
Best for soft, glowing looks—but use carefully if you have texture or very oily lids. -
Hybrid eye base products
Cream shadows marketed as both color and primer; makeup artists often use these as a colored base over a thin layer of traditional eyelid primer for extra drama and durability.
Simple routine: integrating eyelid primer into your makeup
To see real benefits, use your primer consistently. A sample routine might look like:
- Skincare and sunscreen
- Face primer (if you use one)
- Brows (optional—some do them before eyes, some after)
- Eyelid primer
- Eyeshadow and liner
- Mascara
- Foundation, concealer, and the rest of your base
- Setting powder and spray
Placing eyelid primer fairly early in your routine gives it time to settle while you move on to other steps.
FAQ: Eyelid primer and long-lasting eye makeup
1. Is eye primer the same as eyeshadow primer?
Most brands use eyelid primer and eyeshadow primer interchangeably. Both refer to a base applied on the lids to help eye makeup adhere, stay longer, and look more vibrant. Just be sure the product specifically says it’s intended for the eye area.
2. Can I use eyelid primer on my under-eyes?
Some people do use a small amount of eyelid primer under the eyes to help concealer last longer and prevent creasing. However, this area is thinner and more delicate, so:
- Use very little product.
- Make sure it’s gentle and safe for the eye area.
- If you notice dryness or emphasizing fine lines, switch to a hydrating under-eye primer instead.
3. Do I really need an eyelid primer if I don’t wear much makeup?
If you wear even a simple wash of neutral shadow or just a bit of liner, a good eyelid primer can still make a noticeable difference. Your color will look smoother, your liner will smudge less, and you won’t have to do midday touch-ups. For minimal-makeup days, choose a sheer or lightly tinted primer that just evens out your lid and keeps things in place without looking heavy.
Your next step: Make eyelid primer non-negotiable
If you’ve been skipping this step, consider this your sign to experiment. Start with a well-reviewed eyelid primer that matches your lid type, use a tiny amount, and wear your usual shadow and liner for a full day.
Pay attention to:
- How much your shadow creases (or doesn’t).
- Whether your colors still show up at night.
- How easily everything blends and stays where you put it.
Once you see what a difference a good eyelid primer makes, it stops feeling like an extra product and starts feeling like your secret weapon. Try it in your next makeup look and experience how much more polished, vibrant, and long-wearing your eye makeup can be.
For More Visit Us : Hypeladies - Empowering Lifestyle Advice


Comments
Post a Comment